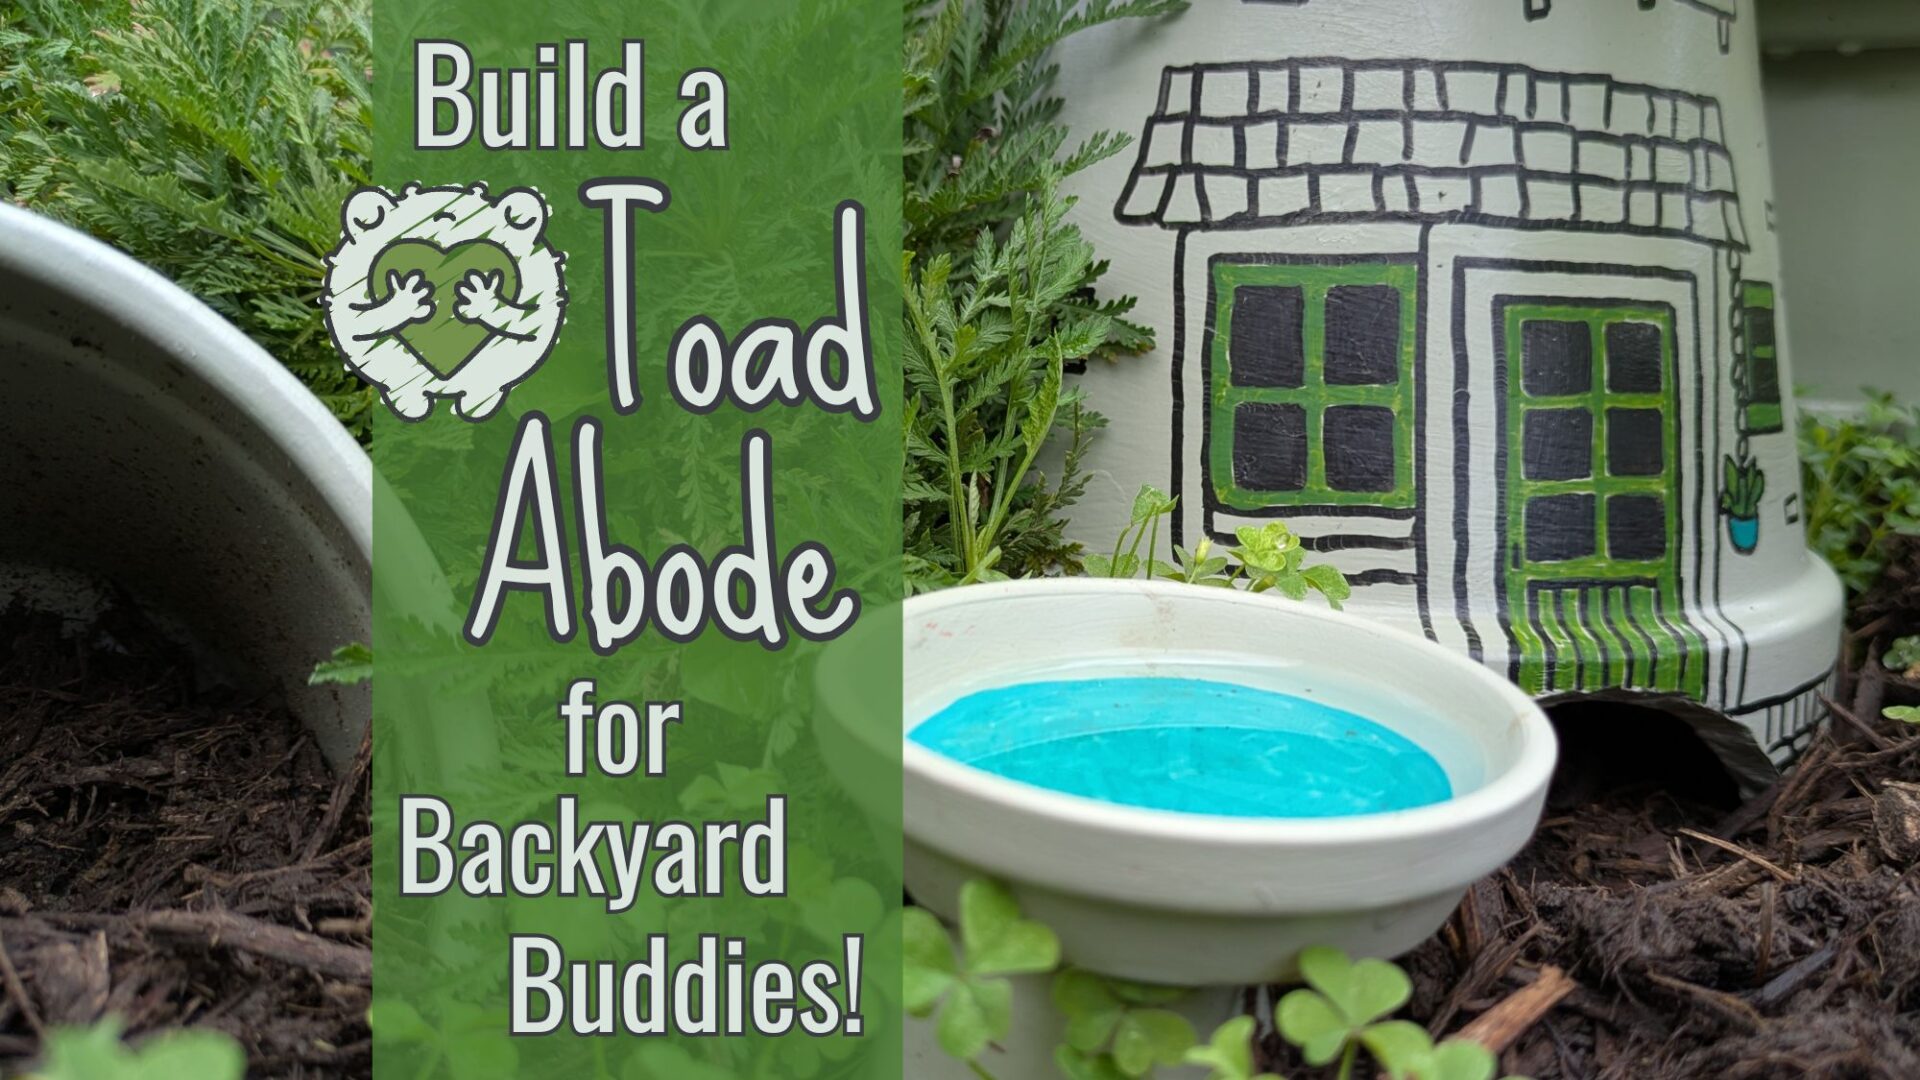
Toad Abodes are Toad-ally Fun!
Looking for a simple and fun garden project that kids and adults alike will love? Build a toad abode! These little shelters are not only charming, they’re a great way to invite helpful garden guests into your backyard.
Toad Abode Activity Sheet for Kids
Download the printable Toad Abode Worksheet from our Free Resource Library! Subscribe to Field Trip Texas for instant, free access to our ever-growing collection of fun and educational printables. Thanks for being here!

Why You Want Toads in Your Garden
Toads are natural pest control champs. One adult toad can eat over 10,000 bugs in a single summer! That means fewer mosquitoes, no need for chemical pesticides, and a healthier garden ecosystem.
Even better? Once they find a cozy, moist shelter, toads often return to the same spot year after year.
Supplies
- A clay flower pot (6–10 inches is ideal)
- A saucer or shallow dish (if there’s no natural water source nearby)
- A trowel (optional, if you plan to dig into the soil)
- Tools for safely cutting or breaking the pot to make an entryway (optional, see the methods below)
- Natural decorations: rocks, moss, bark, small sticks
- Optional: non-toxic outdoor paint if you want to get creative
3 Methods to Set Up a Toad Abode
Option 1: Create a Doorway
Carefully break or cut a portion of the pot’s rim to make an entryway for the toad. If you’re using a cutting tool, make sure it’s rated for ceramic use.
Option 2: Half-Buried Shelter
Turn the pot on its side and nestle it halfway into the ground using a trowel. This provides stability and a natural, cave-like look.
Option 3: Prop with Rocks
Simply lay the pot on its side and use a couple of rocks to lift one edge enough for a toad to crawl in. Quick, easy, and charming.

Directions:
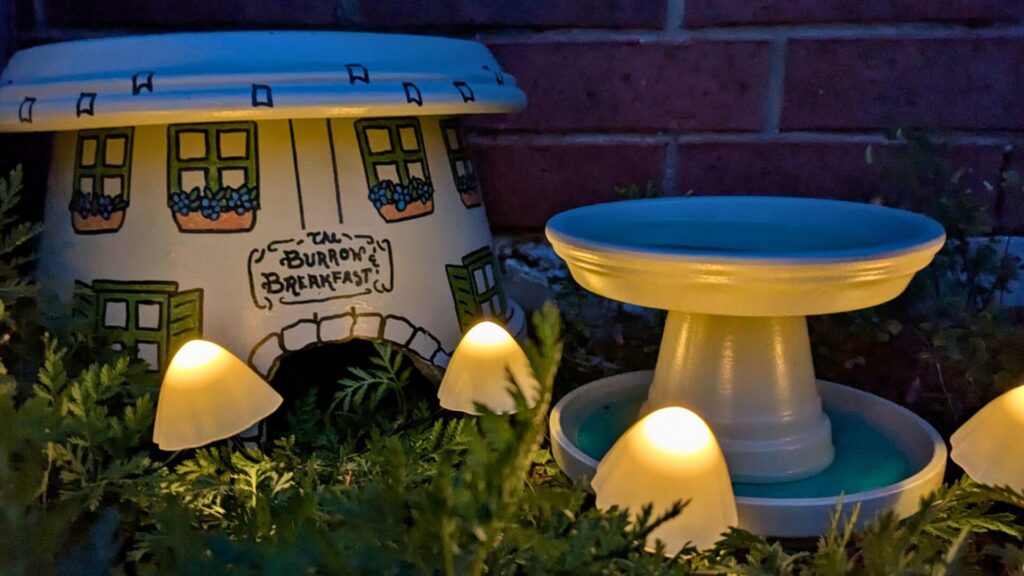
Step 1: Decorate Your Toad Abode (Optional but Fun!)
Toads don’t care what their homes look like, but decorating your abode adds personality and a unique touch to your garden.
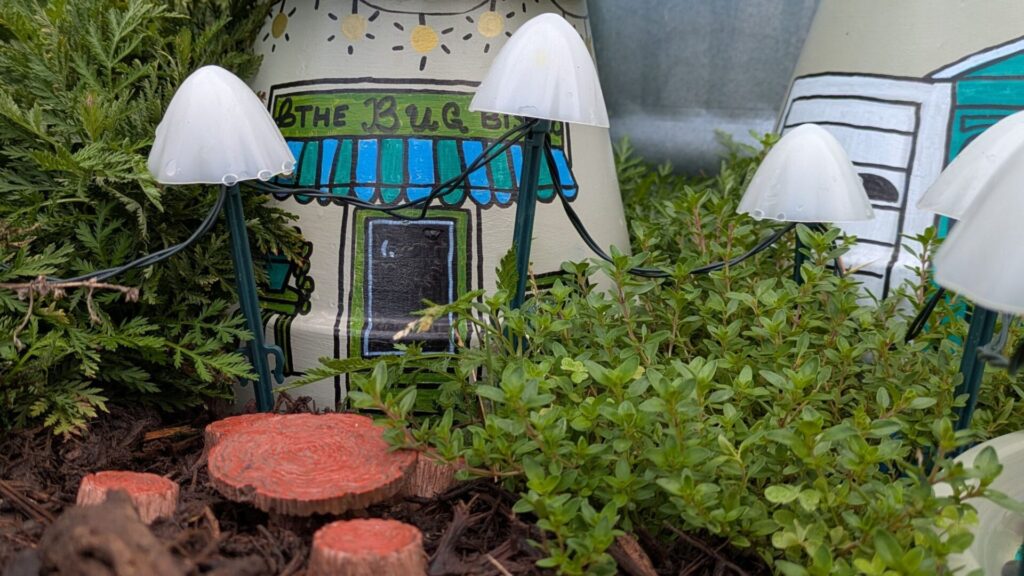
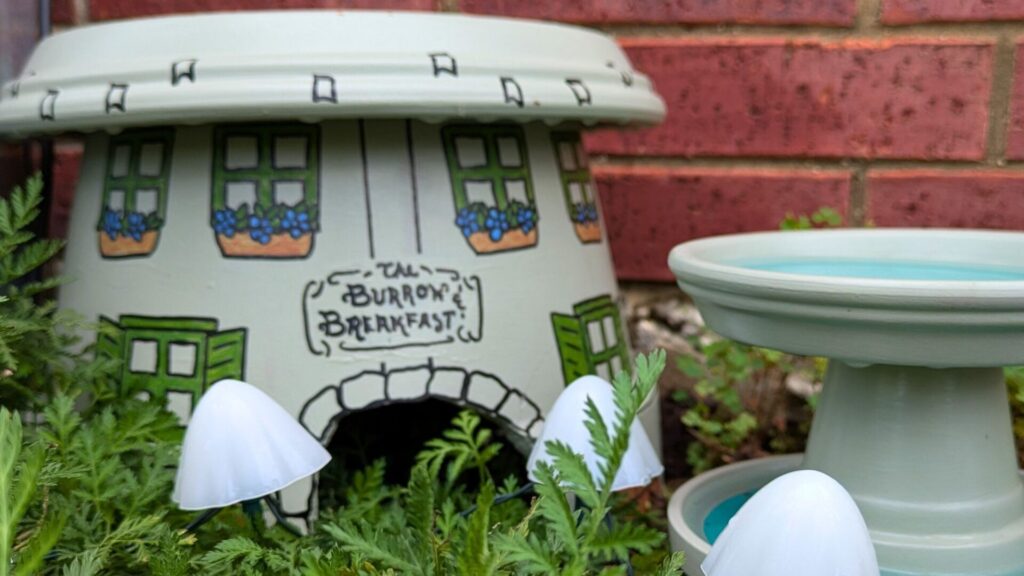
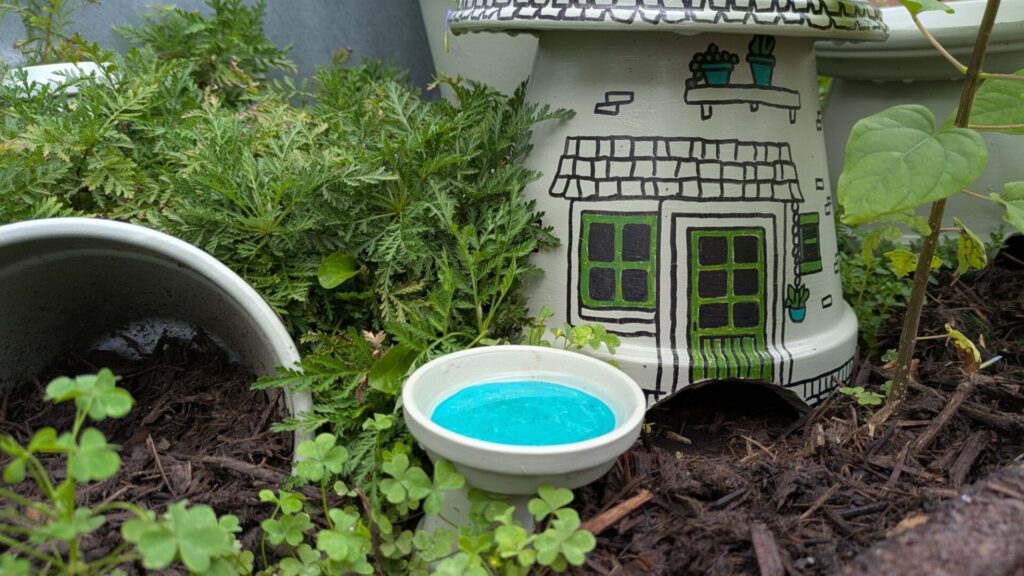
Use non-toxic outdoor paint to add whimsical touches like painted windows, flowers, vines, or signs with clever names like “Toad Inn” or “Hop Haven.”
For a more rustic look add moss, tiny succulents, or bark. Create a toad-sized walkway with flat rocks. Use twigs for a roof or fence.
Fairy garden furniture and accessories can also be a fun addition.
Step 2: Choose a Spot for Your Toad Abode
Toads prefer cool, moist, and shady spots. Some ideal places to try:
- Under a bush or shrub
- Near a downspout or low spot that collects moisture
- Beside frequently watered garden beds or vegetable patches

Step 3: Add a Water Source
Once your abode is placed, add a shallow dish of water nearby. Adding small pebbles can help the toad climb in and out easily.

Tips for Sucess:
- Be Patient. Toads often move in slowly and quietly—it might take a few days or even weeks. If the area feels right, they’ll find it!
- Keep the area around the abode moist with leaf mulch or mulch bark.
- Avoid bright lights or frequent disturbances nearby.
- Build More Than One Shelter. Toads like options! Set up a few abodes around your yard to increase your chances of hosting a visitor.
- Never use pesticides, herbicides, or synthetic fertilizers near the abode. These are harmful to toads and their food supply. Let the toads do the bug control!
Enjoy Your Natural Pest Control!
By creating a toad abode, you’re not just adding charm to your garden—you’re giving a helpful creature a safe place to rest and thrive. And in return, toads will help you keep your garden pest-free, naturally.
Let us know in the comments:
- What will you name your toad abode?
- Have you spotted any toads moving in?