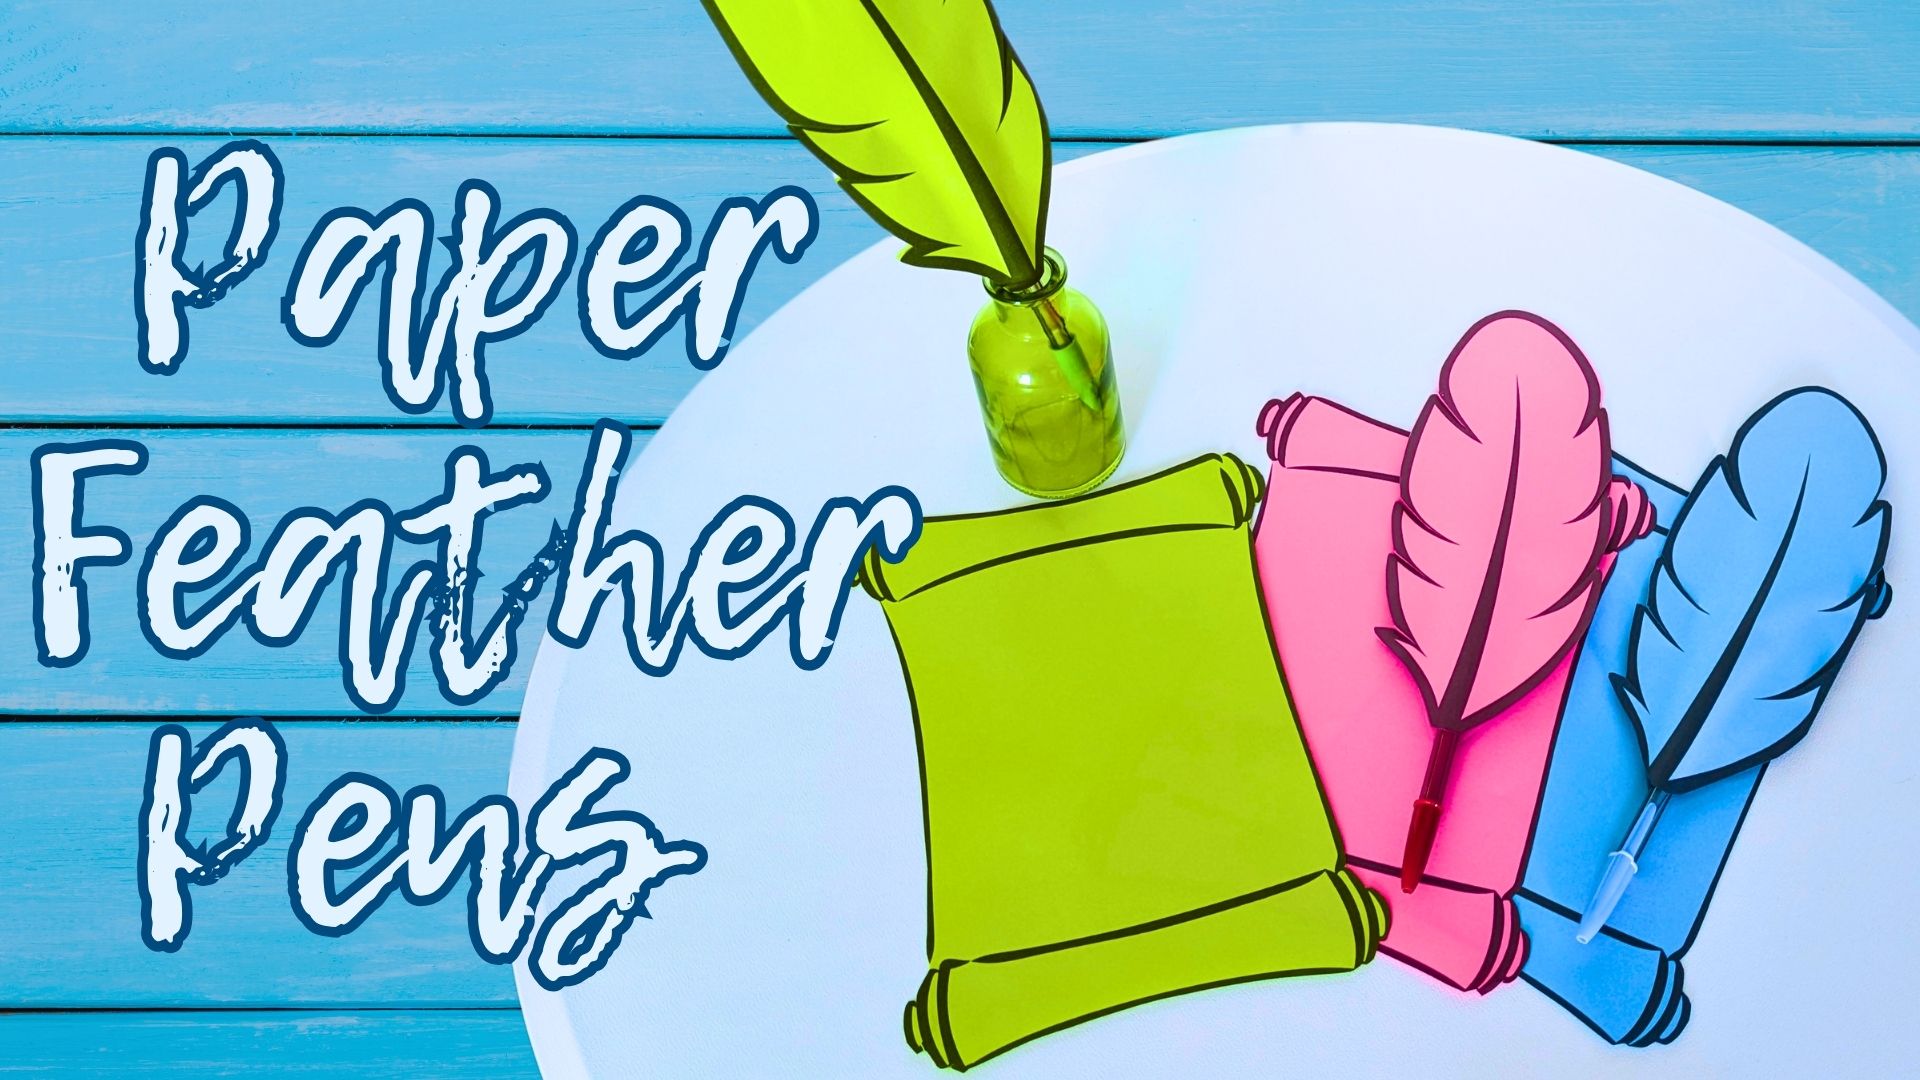
A Feather Pen for When You Need a Touch of Whimsy
Ready to get crafty with this feather quill pen made out of paper? It’s cute, colorful, and really easy to make with just a few supplies you probably already have at home. Whether you want to jazz up your writing time or make school lessons a little more fun, this DIY project is perfect for kids and grown-ups alike.
Ideas to Use Feather Pens for School Lessons (or Just for Fun)
A feather quill pen can be a charming and imaginative addition to several school themes. Here are some fun and fitting ideas:
- Historical Time Travel – Explore different historical periods like Colonial America, the Renaissance, or Ancient Rome, where students can “write like they did in the old days.”
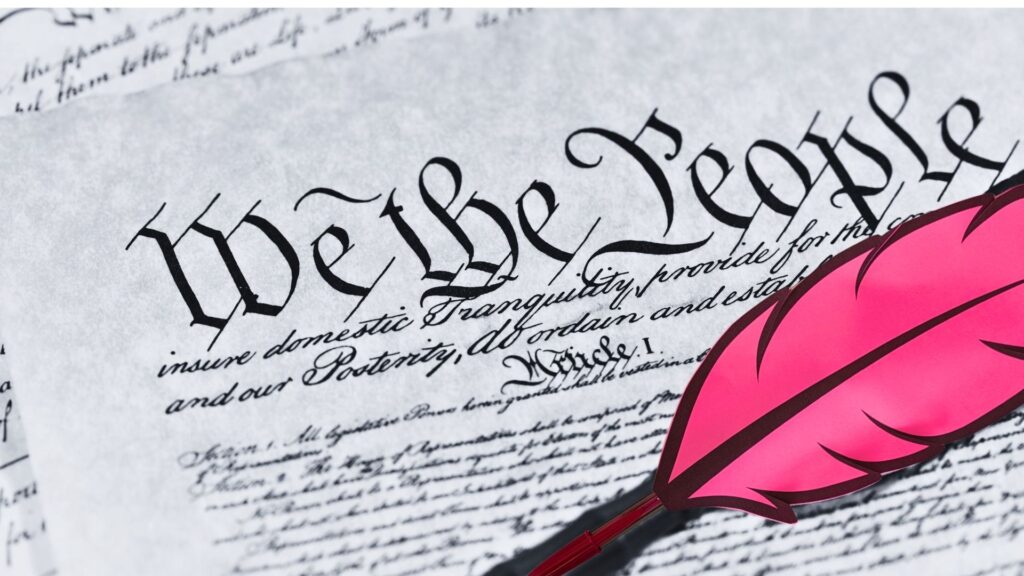
- Harry Potter or Wizard School Theme – Perfect for magical writing spells, potion recipes, or enchanted letters.
- Pirate Week – Use feather quills to write secret messages, treasure maps, or pirate logs.
- Medieval Times – Great for castle-building projects, writing scrolls, or pretending to be royal scribes.
- Authors and Poets Week – Celebrate famous writers like Shakespeare or Emily Dickinson by writing poetry or short stories with a “classic” touch.
- Calligraphy or Handwriting Unit – Introduce students to the art of beautiful writing using feather pens for extra flair.
- Art and Craft Week – Incorporate feather quill making as a hands-on project, blending creativity and functionality.
- Fantasy or Fairy Tale Week – Ideal for writing fairy tale stories, royal decrees, or magical journal entries.
These themes not only make the feather quill fun and relevant but also spark imagination and engagement!
Supplies
- Paper Feather Quill Pen Template
- Paper (Tip: Print directly onto colorful paper, or use white paper and decorate it however you’d like!)
- Pen
- Double-Sided Tape
- Optional: Sticky Notes in a Matching or complementary color
Directions:
Step 1: Cut Out Your Feather
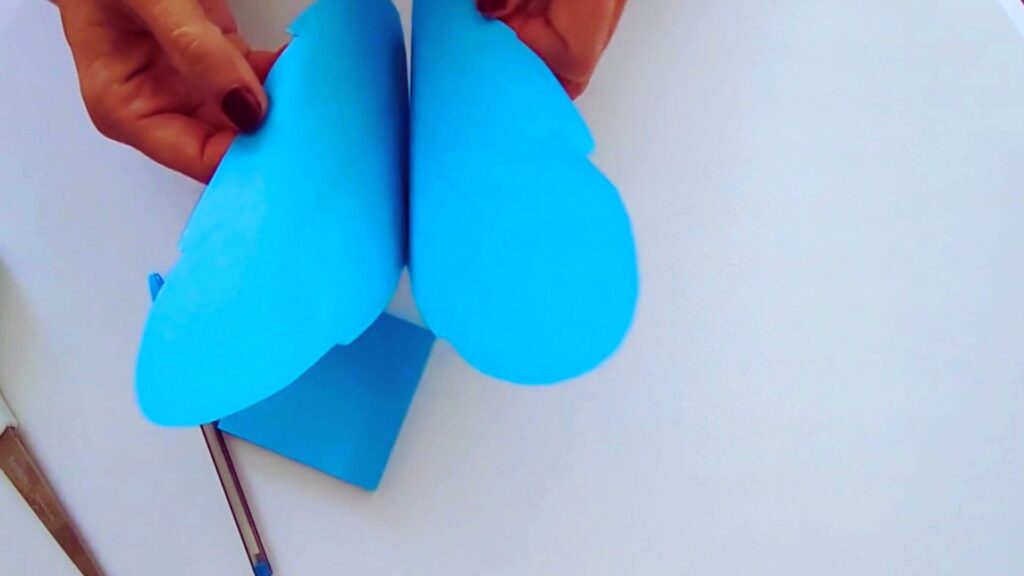
Start by printing out your feather template. Fold the paper in half, and carefully cut around the outline of the feather. Set your feather aside for now—we’ll come back to it in a moment!
Step 2 (Optional): Customize Your Pen
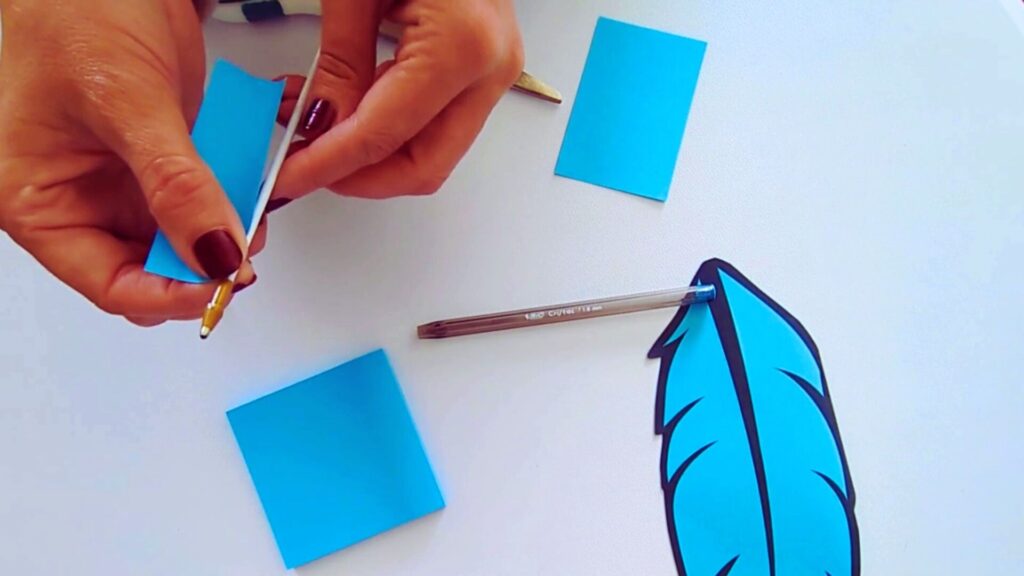
Want your pen to match your feather? Here’s a simple way to add some extra charm:
- Remove the tip of the pen with the ink chamber.
- Choose a sticky note that complements or matches your feather.
- Trim the sticky note as needed so it’s not too thick.
- Wrap the sticky note tightly around the ink chamber just below the tip.
- Reassemble your pen.
Now your pen is extra dapper.
Step 3: Attach the Feather

Now it’s time to bring it all together!
- Take your feather cutout and wrap it around the pen.
- Use double-sided tape or glue to secure it in place.
- Make sure you leave plenty of space to hold the pen comfortably while writing.
- For extra durability, add a bit more double-sided tape around the base of the feather.
Step 4: Add Finishing Touches
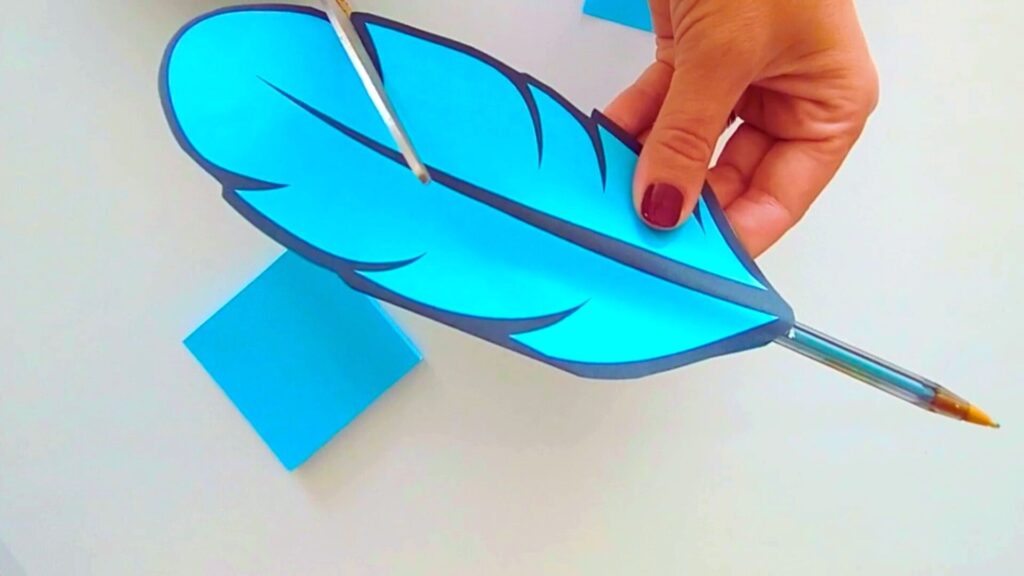
To give your feather a more realistic, three-dimensional look, carefully snip into the edges of the feather with scissors.
Once you’re happy with the look, pop the pen cap back on, and you’re done!
That’s It—Your Feather Quill Pen is Ready!
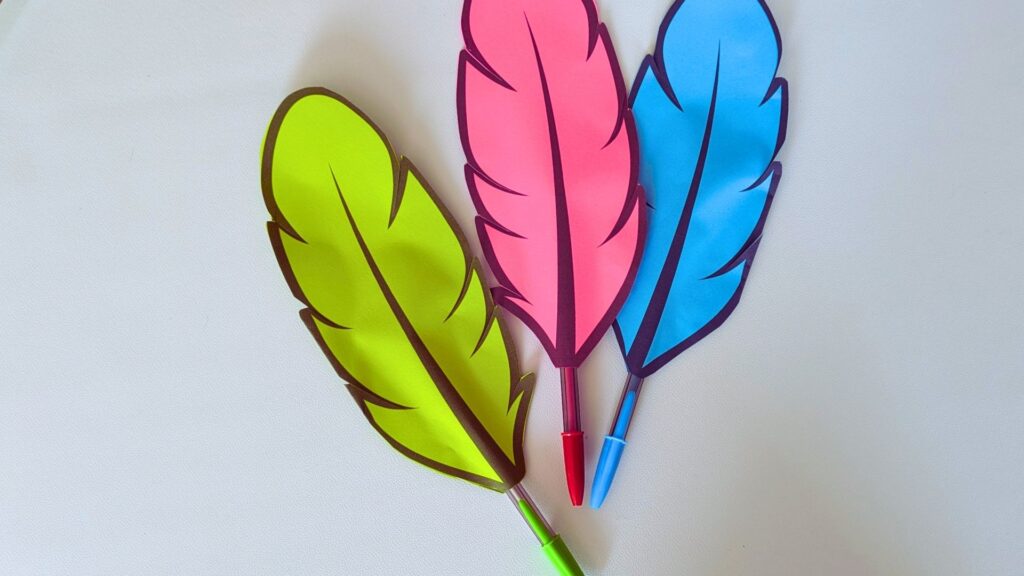
Whether you’re jotting down notes, crafting a letter, or just doodling in your notebook, your handmade feather pen is sure to add a little magic to your day.
Thanks for crafting along with us. Happy writing!